flower cookies
- flower cookies
- Introduction: The Magic of Flower Cookies
- 🌼 How to Make Beautiful Flower Cookies
- 🌺 FAQ – Common Questions About Flower Cookies
- 🌻 Conclusion: Bake, Decorate, and Share the Joy!
Introduction: The Magic of Flower Cookies
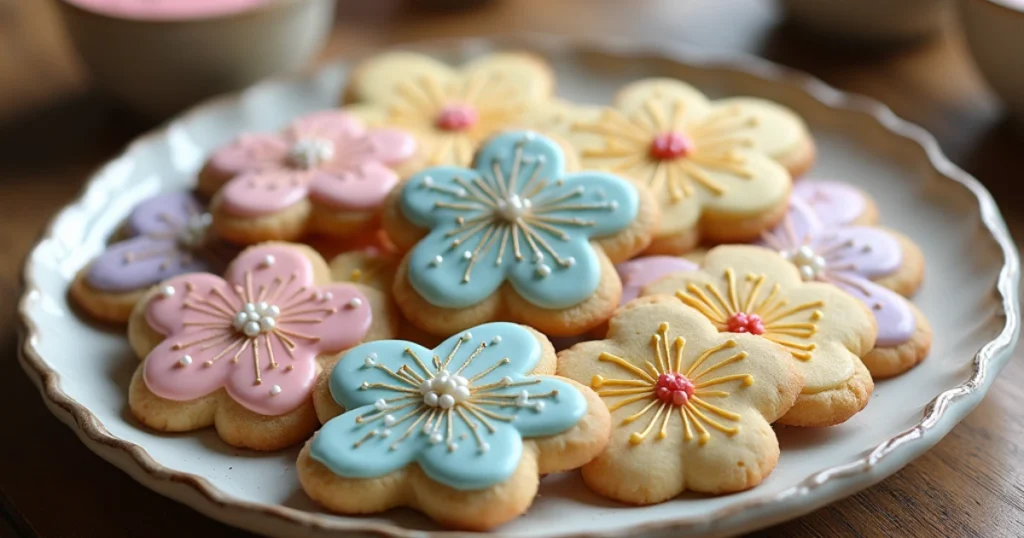
Have you ever wanted to create edible works of art that are as stunning as they are delicious? Flower cookies are the perfect way to impress guests, celebrate special occasions, or simply enjoy a fun baking project. These beautifully decorated treats bring a touch of elegance to any event, and the best part? These delightful treats are easy to create in the comfort of your home kitchen!
In this comprehensive guide, you’ll learn how to bake and decorate gorgeous flower cookies from scratch. Whether you’re a seasoned baker or a complete beginner, this step-by-step guide will help you achieve bakery-quality results. Get ready to bring your creativity to life with delicious, eye-catching cookies!
🌼 How to Make Beautiful Flower Cookies
Essential Ingredients and Tools for Flower Cookies
Before you start, gathering the right ingredients and tools will make your baking process smooth and enjoyable.
Ingredients for the Cookie Dough
| Ingredient | Quantity |
|---|---|
| All-purpose flour | 2 ½ cups |
| Unsalted butter | 1 cup (softened) |
| Granulated sugar | 1 cup |
| Egg | 1 large |
| Vanilla extract | 1 tsp |
| Baking powder | ½ tsp |
| Salt | ¼ tsp |
Ingredients for Royal Icing
| Ingredient | Quantity |
| Powdered sugar | 3 cups |
| Meringue powder | 2 tbsp |
| Water | 4 tbsp |
| Food coloring (gel) | As needed |
Tools You’ll Need
- Rolling pin
- Flower-shaped cookie cutters
- Piping bags & tips
- Food-safe paintbrushes
- Toothpicks for detailing
- Cooling rack
- Baking sheets
Step-by-Step Guide to Making Flower Cookies

Step 1 – Preparing the Dough
- In a large bowl, beat the softened butter and sugar until the mixture is light and airy
- Add the egg and vanilla extract, mixing well until the batter is smooth and fully combined
- In another bowl, sift the flour, baking powder, and salt together until well combined.
- Slowly incorporate the dry ingredients into the wet mixture, stirring until a dough comes together
- Enclose the dough in plastic wrap and refrigerate for a minimum of 30 minutes.
Step 2 – Rolling Out and Shaping the Cookies
- Preheat your oven to 350°F (175°C).
- Roll the chilled dough on a floured surface until it reaches about ¼-inch in thickness.
- Cut out the cookies using flower-shaped cookie cutters.
- Transfer the cookies to a lined baking sheet, spacing them about an inch apart.
Step 3 – Baking to Perfection
- Bake the cookies for 8-10 minutes or until the edges turn a light golden brown.
- Remove the cookies from the oven and let them rest on the baking sheet for 5 minutes to cool.
- Move the cookies to a cooling rack and let them cool fully before decorating.
Step 4 – Making and Coloring Royal Icing
- In a bowl, mix together powdered sugar and meringue powder.
- Add water gradually while whisking until the icing reaches a pipeable consistency.
- Separate the icing into different bowls and add food coloring to each, as desired.
- Spoon the icing into piping bags fitted with small round tips.
Step 5 – Decorating Your Flower Cookies
- Piping Petals: Outline the flower shape with icing and then flood the inside.
- Creating Depth: Use a toothpick to drag icing inward for a more realistic look.
- Layering Colors: Allow one layer to dry before adding additional colors or details.
- Adding Details: Use a food-safe paintbrush or small piping tip to create intricate designs.
- Finishing Touches: Sprinkle edible glitter or place sugar pearls in the center for extra charm.
Expert Tips for Stunning Flower Cookies
- Refrigerating the dough helps prevent the cookies from spreading while baking.
- Use gel food coloring for vibrant, non-watery icing.
- Thin vs. thick icing: Thin icing is perfect for flooding, while thick icing works best for outlines.
- Test your piping skills on parchment paper before decorating the cookies.
- Work in layers to achieve a professional, multi-dimensional look.
Storage and Serving Suggestions
- Store the cookies in an airtight container at room temperature for up to seven days.
- Freeze undecorated cookies for up to 3 months and decorate them later.
- Enjoy with tea, coffee, or milk for the perfect sweet treat.
- Wrap individually for beautiful homemade gifts.

🌺 FAQ – Common Questions About Flower Cookies
How do you keep flower cookies from spreading in the oven?
Chilling the dough before rolling and cutting helps retain the shape. Avoid overmixing the butter and sugar to prevent excessive spreading.
Can I use store-bought icing instead of royal icing?
Yes, but homemade royal icing provides better texture and control for detailed designs.
How far in advance can I make flower cookies?
Bake the cookies up to 3 days ahead and store them in an airtight container until you’re ready to decorate.
What’s the best way to transport decorated flower cookies?
Layer them between parchment paper in a sturdy container to prevent smudging. For extra protection, place bubble wrap around the container.
Can I use buttercream instead of royal icing?
Yes, but buttercream is softer and may not hold intricate designs as well as royal icing.
🌻 Conclusion: Bake, Decorate, and Share the Joy!
Making flower cookies is a rewarding experience that allows you to express your creativity while delighting loved ones with delicious treats. Now that you have the step-by-step guide, it’s time to put your skills to the test!
Gather your ingredients, grab your piping bags, and start decorating. Whether you’re making these cookies for a special occasion or just for fun, your beautifully crafted flower cookies are sure to impress. Happy baking! 🌸✨
What’s your favorite flower cookie design? Share your thoughts and experiences in the comments below!